Designing a Second Level
Now you will create a second level, which you will populate with different types of characters and scenery. Later the two levels will be connected to create a more complete game.
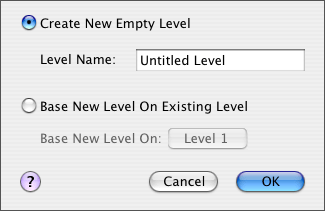
Select Create new Level... from the Level menu. A sheet dialog will appear, as shown below. Make sure the Create New Empty Level radio button is selected and enter a name for the second level. Then click OK.
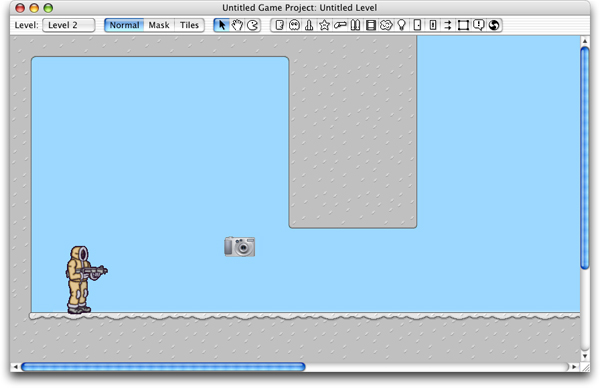
After clicking OK, the new environment will appear: another flat, barren landscape. Let's sculpt this level into a more complex environment. See if you can recreate the landscape pictured below, complete with the bulky overhanging terrain and a wide open space filling the right half of the environment (you may need to scroll to the right to see the entire level.)
The narrow passageway should be just large enough to be able to walk through. But you are going to make the passage more interesting by adding a door. Select the Door tool from the tool palette and click in the passageway to add a door to the level. The door that appears will be a sliding ice door–the default door type. Use the Arrow tool to drag it into position, as shown below.
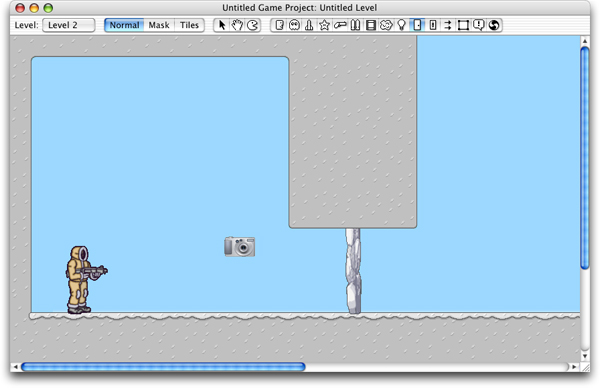
The door's properties may be changed using the Properties window, but we will leave the default settings as they are. The door will open automatically, allowing the player to move through whenever he approaches.
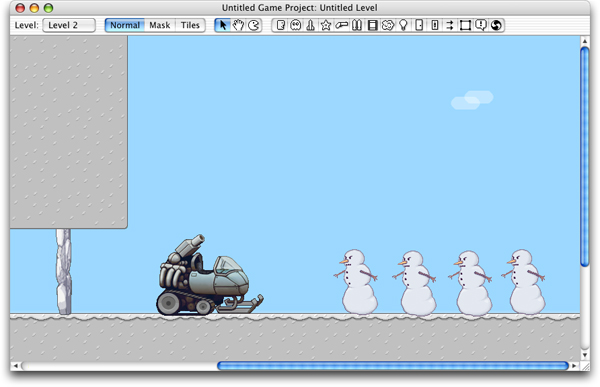
Let's put a surprise behind the door. Use the Character tool to place a new character to the right of the door. A snowman will appear by default. But we want to make a different type of character: select "Snowmobile" from the Character Type pop-up menu in the Properties window. A huge vehicle will appear, as shown in the following screenshot:
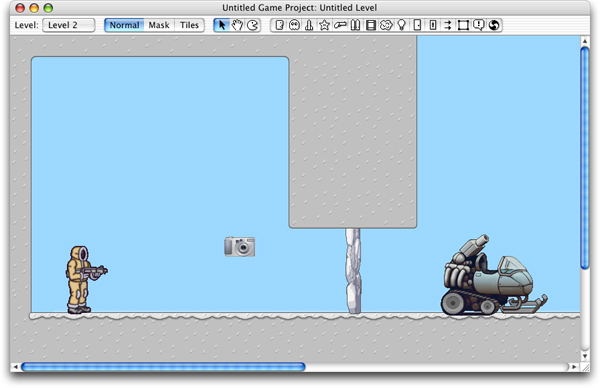
As you can see, not every character is necessarily a living thing. Certain characters, such as the snowmobile, serve as vehicles in which the player may ride. All the player has to do to take the controls of the snowmobile is jump up and land in it. The snowmobile will be a useful vehicle for moving through this level, because it can be driven right through otherwise pesky snowmen. (For future reference, it is possible to leave the snowmobile at any time by pressing the jump key.)
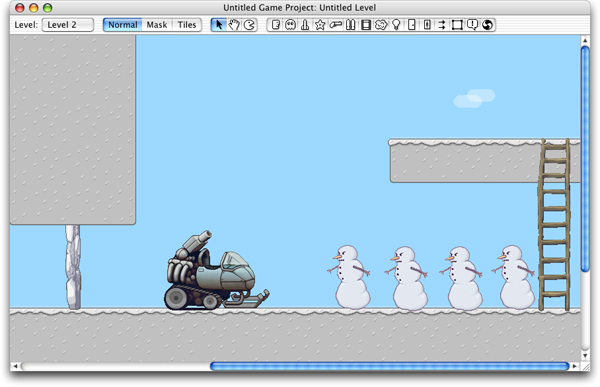
Now let's add a ladder leading up to a floating ledge. The ladder is simply a piece of scenery, just like the Arctic Cabbage you added to Level 1. Use the Animated Scenery tool to place the scenery in the level, and select "Ladder" from the Animated Scenery Type Pop-Up menu in the floating Properties window. Next, switch to Tiles mode (command-I) and construct the ledge shown below.
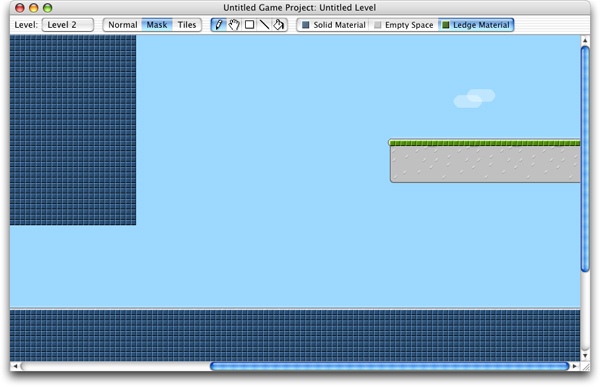
The Solid Material Mask needs to be updated manually to make the ledge must be accessible from below, via the ladder. It would not work to leave the ledge filled with solid material, because solid material would prevent the player from being able to climb all the way up the ladder and onto the ledge. Instead, you will add Ledge material, which is uniquely suited for the kind of raised terrain you just constructed. Switch to Mask Mode and using the Rectangle Tool, draw Empty Space over the ledge (this will erase the solid material represented by blue squares.) Now select Ledge material from the tool palette. Use the pencil or line tool to draw a single row of ledge material on top of the new terrain, as shown in the following screenshot:
Now that the ladder has been positioned and the ledge material is firmly in place, the raised terrain is easily accessible. You are going to set things up so that when the player reaches the top of the ladder and steps onto the ledge he will win the game. This will be accomplished through the use of a Hot Zone. A Hot Zone will also be used to connect the first level to the second level, as described in the next section, Connecting Levels. But first, assign a background music track to Level 2 using the Level Parameters Window (Command-L), just as you did for Level 1 in the previous step.
Now would be a good time to save your game project. Should anything go wrong during the next step, you will be able to revert to previously saved work.
Next: Connecting Levels